How to Check Freezer Gasket Seals
The lab freezers you choose for your lab rely on a gasket to maintain a seal on the door. This will keep cool air inside, and hot air out. A freezer gasket seal that isn’t working properly can have a massive impact on your freezer’s efficiency. As a result, your lab may experience severe setbacks.
When the freezer gasket receives damage, gets dirty or worn, your freezer will need to work harder to maintain its low temperature. Additionally, samples towards the front (by the door) may not stay at the necessary temperature. Improper temperatures can seriously compromise your samples. This can have a severe impact on your day-to-day operations, safety and efficiency.
If this is the case, the service technicians at Cryostar can replace any of your refrigerator and freezer gaskets. In order to determine if your freezer’s inefficiency is due to a gasket issue, here are some quick ways to test it.
1. Feel for Cold Air
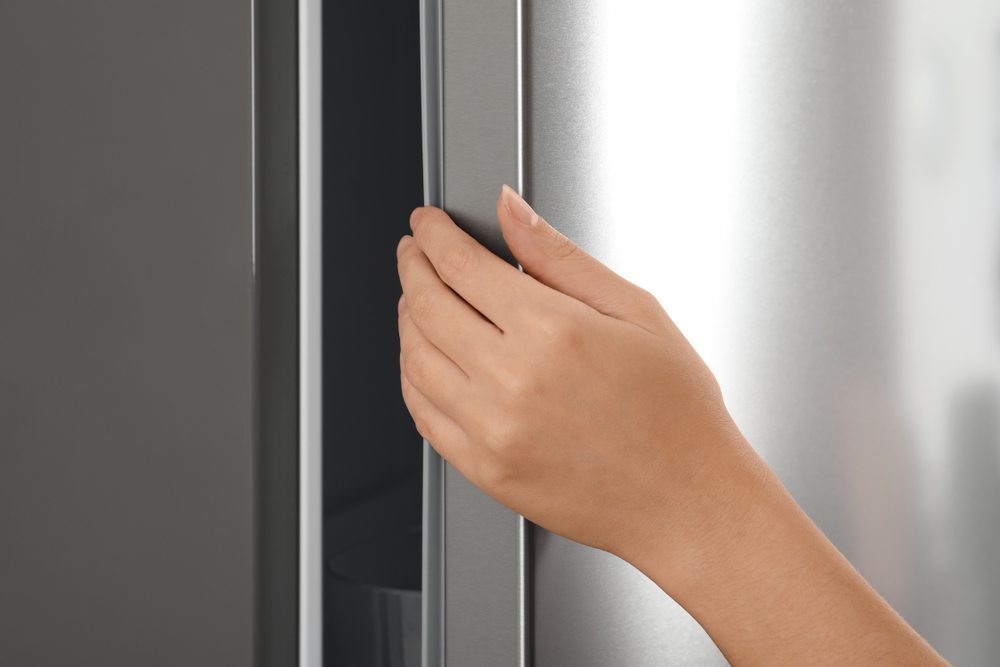
Using your hand, feel around the closed door for any cold air escaping. If you feel cold air, that means the gasket is not sealing. This can simply be the result of dirt buildup, which can be easily cleaned. While doing this, also check for any cracks around the gasket. If the cold air is escaping due to cracks in the gasket, you will need to have it replaced.
2. Use a Flashlight
First, take a flashlight and turn it on. Place the lit flashlight in the ultra-low temperature freezer and close the door. Check around the closed door for any light coming through. This is a sign that your gasket is not sealing, and reducing the efficiency of your unit. Protect your investment by repairing your gasket seals right away.
3. Use a Dollar Bill
Take a dollar bill and close it in the freezer door. Be sure there is enough of the bill sticking out so you can pull it. If the bill slips out easily, then there’s a weak spot in the gasket seal. You should check around the entire seal, especially in the corners of your unit.
4. Inspect the Seal
Look over the seal closely and look for any looseness, cracks, tears, or dirt. Thoroughly clean any dirt, debris or dust buildup immediately to limit the chances of inhibiting the seal. The surface of the freezer where the gasket makes contact should also be inspected and cleaned, if needed. Simple measures like this can go a long way towards enhancing your lab’s cost-efficiency.
When Does a Gasket Need Replacing?
While a simple cleaning of the gasket is the best case scenario, sometimes, care and maintenance isn’t enough to keep it working. In some cases, there are issues that will require full replacement. If any of these issues are present, you should replace the gasket immediately in order to limit freezer inefficiency.
- Cracks
- Tears
- Bending or warping, especially in the corners
- Hard to the touch, and not pliable
Conclusion
Gaskets are one of those simple components that labs largely depend on to run smoothly. Keeping freezers working will enhance your lab and ensure it remains functional. In order to prevent interruptions and downtime, the pros at Cryostar can provide preventative maintenance and repairs that will keep your units working. Preserve your samples, maintain quality of work and safety standards by enlisting the help of Cryostar Industries and our expert technicians.
| Call for Immediate Lab Services |
|---|
| Long Island, Nassau & Suffolk County Call: 516-333-4006 |
| The Bronx, Manhattan, Brooklyn, Queens, & Staten Island Call: 718-885-0833 |
| Albany & Southern New York State Call: 800-564-5513 |
| Piscataway, Northern & Central New Jersey Call: 800-564-5513 |
| Danbury Connecticut & Surrounding Areas Call: 203-748-7343 |
24/7 Emergency Service |